Smooth Coloring: Secrets to Streak-Free Drawing
16 de setembro de 2026
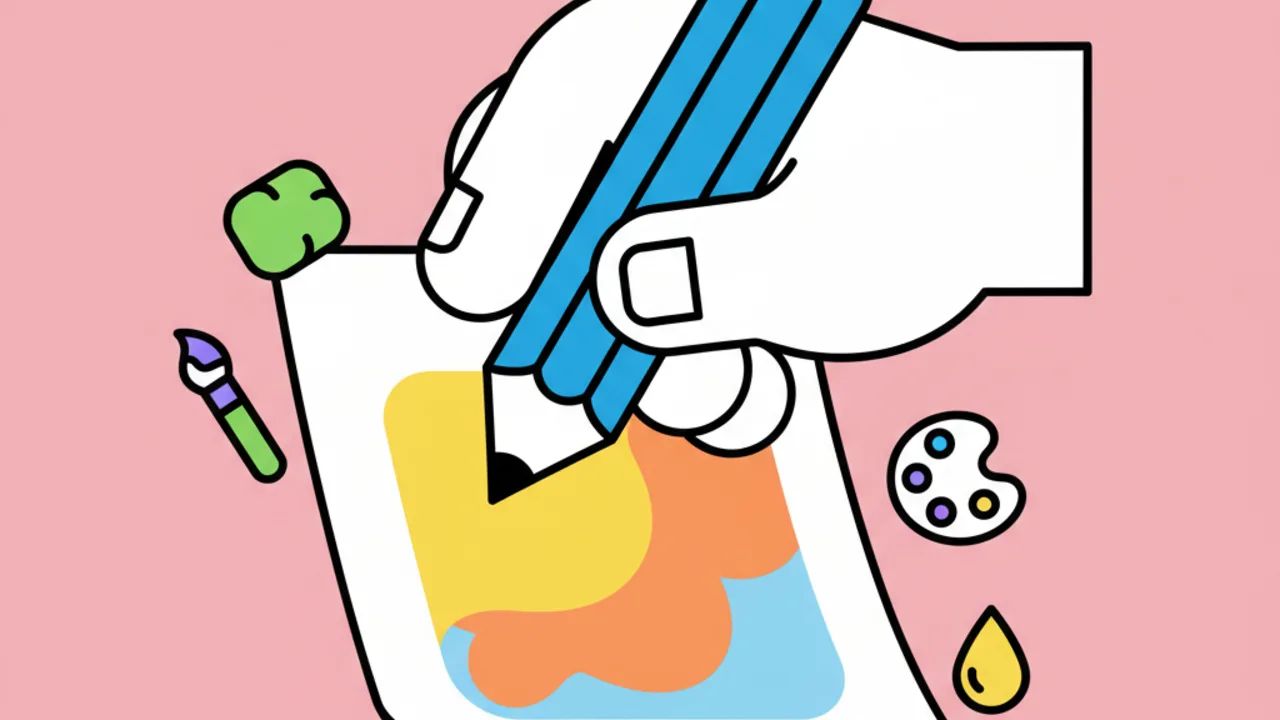
Discover foolproof techniques to color your favorite drawings without leaving streaks. Learn how to use colored pencils for a smooth, professional finish. ✨
Choosing the Perfect Paper for Streak-Free Coloring
Often, the frustration of seeing streaks in your artwork starts before the pencil even touches the page. To achieve a smooth, uniform finish on your free printable coloring pages, the weight and texture of the paper are key. Standard printer paper (20lb/75g) is too porous and thin, making it easy for pressure marks to appear.
If you want a professional finish, try printing your free coloring sheets on paper thicker than 120g (like cardstock). Smoother papers, such as high-brightness offset, allow the pencil pigment to glide effortlessly, preventing the tip from "catching" on fibers and creating those pesky white gaps or dark shadows.
Additionally, the surface you work on matters. Avoid tables with visible wood grain. Always use a cutting mat or even a sheet of thick cardstock under your printed digital coloring book to ensure the surface is perfectly flat.
The Constant Circular Motion Technique
The best-kept secret of professional and kids' line art artists is ditching long, straight strokes. When we color back and forth quickly, the edges of each stroke overlap unevenly, creating bands of color that are darker than the rest.
To avoid this, use small circular motions. Imagine you are drawing tiny, interconnected spirals. This technique ensures the pigment is distributed evenly across all directions of the paper fibers, eliminating stroke lines. It is the most effective way to color educational drawings while maintaining tonal smoothness.
Remember to keep your pencil tip slightly rounded for this technique. If the tip is needle-sharp, it might scratch the paper; if it’s too blunt, you’ll lose precision in the details of your cute drawings.
Pressure Control: A Light Touch is Your Best Friend
A common mistake when using coloring pages is trying to reach full color intensity in the first layer. Applying too much force crushes the paper fibers (a process called premature burnishing), which prevents new layers of color from sticking and leaves permanent streak marks.
The ideal way is to work in soft layers. Hold your pencil a bit further back from the tip to reduce natural hand pressure. By applying several light layers instead of one heavy layer, you fill the paper's pores gradually, resulting in a vibrant, solid color typical of high-quality printable art.
Pro Tip: If you notice the paper starting to look shiny and it won't take any more color, you’ve reached the saturation limit. That’s why you should always start as light as possible and darken slowly.
Layering and Building Depth
Coloring uniformly doesn't mean coloring flat. To bring your printable coloring pages to life, you must overlap colors. Start with a very light base of your chosen color using the circular technique. Then, apply a second layer with a slightly darker tone in the shaded areas.
This layering helps hide any small imperfections from the first pass. By blending two or three shades of the same pencil, you create a smooth transition that the human eye perceives as a solid, 3D surface—perfect for coloring for kids who want to level up their art skills.
Using Analogous Colors for Smooth Transitions
Analogous colors are those next to each other on the color wheel, like blue and green, or red and orange. When coloring AI-generated drawings or hand-drawn ones, using these neighbor colors to blur edges helps create a gradient without visible streaks.
- Use a white pencil or a cream-colored pencil for blending.
- Apply the lighter color over the darker color to soften the transition.
- Keep the direction of your circles consistent while blending.
- Clean the tip of your blending pencil on a scrap piece of paper to avoid transferring "muddy" pigment.
Helper Tools: Blending Stumps and Blenders
For those looking for gallery-quality perfection in their coloring activities, there are specific tools to help eliminate streaks. A blending stump (a roll of pressed paper) or even a cotton swab can be used to spread the pigment already on the paper.
There are also "blenders," which are pigment-less pencils made only of wax or oil. They polish the drawing, binding all layers together and eliminating those white paper dots. Using a blender on your coloring sheets gives the art an oil painting or gouache look.
Cleaning Wax Buildup
Some lower-quality pencils drop small wax crumbs while you paint. If you brush them away with your hand, you’ll smear the drawing and create dark spots. Always keep a soft-bristle brush or a small duster handy to remove these residues from your printed digital coloring book without touching the art with your fingers.
How Pencil Quality Affects the Result
Not all pencils are created equal. Standard school pencils tend to have more binder (hard wax) than pigment, which requires more force and leads to more streaks. Artistic or professional pencils have a softer, "buttery" core, making it easier to get uniform coverage on coloring pages.
However, you can get incredible results with basic materials if you follow layering techniques. Patience is more important than the price of the set. At Desenhando e Colorindo, we encourage creativity with whatever you have, focusing on the right technique.
- Wax-based pencils: Great for layering and shine.
- Oil-based pencils: Excellent for details and intense colors without wax bloom.
- Watercolor pencils: Can be used dry for quick filling and then smoothed out with a damp brush.
The Importance of Lighting
Often, we leave streaks in free printable coloring pages because we can't see the gaps in coverage properly. Coloring under dim or yellow light hides the white spaces between paper fibers. Always try to color near a window with natural light or use a desk lamp with a white LED bulb.
Rotate your paper frequently. By changing the angle of the sheet, you can see the reflection of the wax against the light and identify areas where the filling is thin or streaky. This constant checking ensures your kids' line art looks flawless from every angle.
Maintaining Your Pencil Tips
Keeping your pencils sharp is essential, but here’s a trick: don’t make them too sharp for filling large areas. A slightly rounded tip covers more surface area, reducing the chance of creating deep, thin lines in the paper. Save the needle point for the fine outlines of your cute drawings.
If the weather is cold, the pencil wax can harden. A pro tip is to lightly warm the pencil between your hands before using it. This makes the application smoother and decreases resistance against the paper, helping avoid unwanted marks.
Frequently Asked Questions
Why does my drawing look full of tiny white dots?
This happens because the pencil didn't reach the deep valleys of the paper's texture. To fix this, apply more light layers or use a blender pencil to push the pigment into the pores.
Can I use markers and colored pencils together?
Yes! An excellent technique to avoid streaks is using a light-colored marker as a base layer and then coloring with the pencil on top. The marker fills the paper evenly, and the pencil adds the finish and shading.
How do I remove pressure marks that indented the paper?
Unfortunately, physical pressure marks are hard to remove. The best way to hide them is to go over the area with a very soft colored pencil or dry pastel to try to level the color visually.
What is the best direction to color in?
There isn't just one correct direction, but consistency is key. If you started circular, finish circular. Suddenly changing direction in the middle of a large area in your coloring pages is what causes visible streaks.
Mastering the art of uniform coloring takes practice, but the results are worth it. Seeing your favorite characters and landscapes come to life with solid, smooth colors turns coloring into a moment of relaxation and artistic pride. Now that you know these technical secrets, how about putting them into practice? Choose your favorite themes here at Desenhando e Colorindo, get your pencils ready, and start creating amazing art today. Enjoy our vast gallery of free printable coloring pages and have fun!
Escrito e revisado por Armando Amaro
Fundador do Desenhando e Colorindo. Todo artigo passa por curadoria e revisão humana antes de ser publicado.