Best Tips for Coloring Pages with Markers
24 de setembro de 2026
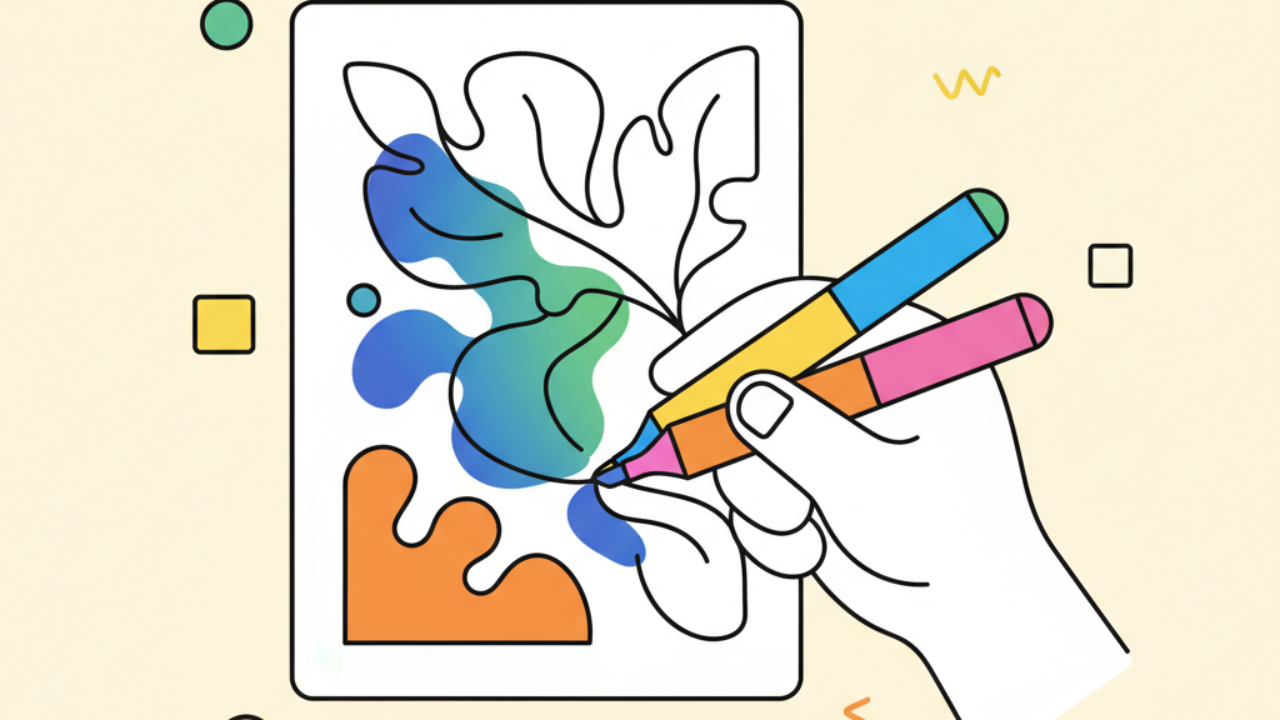
Level up your coloring game with pro marker techniques! Master shading and blending to make your line art pop with these expert tips.
Choosing the Perfect Paper for Coloring Pages with Markers
To get the best results when applying marker techniques to your printable coloring pages, the first step is choosing the right surface. Alcohol-based markers tend to bleed through standard, low-weight paper like your basic 20lb (75g) printer paper.
We recommend that when you select your favorite coloring sheets from Desenhando e Colorindo, you use paper with a minimum weight of 80lb (120g) or paper specifically designed for markers. This ensures the ink doesn't bleed uncontrollably past the edges of the kids' line art.
Papers with a smoother, coated finish allow colors to blend more easily, creating seamless gradients that level up your educational drawings. If you're printing at home, check your printer's compatibility with thicker cardstock to avoid paper jams.
Layering and Color Overlap Techniques
One of the biggest perks of free coloring pages is the chance to practice layering. Markers work best when applied in layers, allowing you to build color intensity gradually instead of trying to hit that dark shade all at once.
Always start with your lightest colors. On cute character drawings, apply a soft base and, while the ink is still slightly damp, introduce your mid-tones. This technique prevents visible brush strokes and creates a professional, digital coloring book look.
Layering also lets you fix minor mistakes. If an area is too light, a second coat of the same color will add the desired saturation. It's an excellent method for adding depth to complex coloring activities.
Pro tip: Always keep a "blotter sheet" (a scrap piece of paper) under your coloring page. This prevents excess marker ink from staining your table or the pages underneath in your art pad.
Mastering the Flicking Motion
The flicking motion is essential for creating textures in printable art. Instead of coloring in solid blocks, use quick wrist movements to "flick" the color outward, tapering the stroke at the end.
This technique is perfect for coloring character hair, bird feathers, or flower petals in our coloring pages to print. It creates a natural transition between different colors, simulating realistic lighting and shadows.
How to Blend Colors with a Blender Pen
The colorless marker, known as a "colorless blender," is a powerful tool for anyone seeking perfection in coloring for kids and adults. It’s not just for erasing; it’s for diluting and softening the edges of bold colors.
When working on line art, use the blender to dampen the paper before applying your main color. This helps the ink spread more evenly. You can also use it to create highlights in already colored areas by lifting a bit of the pigment with light touches.
To mix two distinct shades, apply the dark color and use the light color (or the blender) to pull the dark pigment toward the light area. This technique is very common in AI-generated drawings that feature complex shading.
Organization and Choosing a Color Palette
Before you start coloring your drawing pages, it’s vital to plan your palette. Markers can look unpredictable once dry, so creating a color swatch on the same paper you’re printing on is fundamental.
- Analogous Colors: Pick neighboring colors on the color wheel for smooth shadows in cute drawings.
- Complementary Colors: Use opposite tones to create contrast in standout elements of your line art for kids.
- Gray Tones: Always keep gray markers handy to create neutral shadows without changing the hue of your base color.
- Moisture Control: Work in small sections so the ink doesn't dry before you finish blending.
Realistic Shading in Nature and Character Art
The secret to printable coloring pages that pop is the contrast between light and shadow. Identify where your imaginary light source is coming from before your pen even touches the paper.
In educational drawings of anatomy or animals, shadows usually gather in folds and lower areas. Use a shade two levels darker than your base color to define these shadows. Avoid using pure black for shading, as it can make the art look "muddy"; instead, opt for dark blues, purples, or browns depending on the temperature of your main color.
Filling Large Areas Without Streaking
Coloring backgrounds in coloring pages can be a challenge with markers. To avoid that "streaky" look, use the broad chisel tip and make constant circular or zigzag motions, keeping a "wet edge" at all times.
Speed is key. If a section dries and you go over it again, it will create a darker overlap line. In free drawings with large open spaces, try breaking the area into smaller sections following the natural lines of the composition.
Complementary Materials to Refine Your Art
After applying markers to your coloring sheets, you can use other supplies for the finishing touch. Colored pencils over markers work incredibly well for adding fine texture details, like fur or small wrinkles.
White gel pens are perfect for adding highlights to a character's eyes or shines on metallic surfaces. These details make homemade coloring activities look like professional illustrations ready for framing.
- Fineliners/Ink Pens: To reinforce line art contours if the marker has covered parts of the outline.
- Electric Erasers: Useful for creating highlight textures on high-weight paper.
- Masking Tape: To secure the drawing to the table and prevent it from shifting during heavy layering.
Marker Care and Maintenance
To ensure you always have the best tools for your coloring drawings, store your markers horizontally. This prevents ink from pooling at just one end, ensuring a consistent color flow.
Keep the caps tight and clean the nibs occasionally with a little isopropyl alcohol if they get contaminated with other colors. With these tips, your printable art supplies will last much longer, providing hours of creative fun.
Frequently Asked Questions
What is the best paper weight for markers?
Ideally, use paper above 120g/m² (80lb), preferably marker paper or Bristol board, which prevents ink from bleeding through to the back of the sheet.
Can I use markers on drawings printed with inkjet printers?
Yes, but it's important to let the printer ink dry completely for 24 hours. Alcohol markers can dissolve printer toner or ink if it isn't fully set, smudging the line art.
How do I prevent the marker from going outside the lines?
Keep the marker tip about a millimeter away from the black line. The ink tends to spread slightly into the paper fibers. By leaving that tiny gap, the ink fills the space naturally without crossing the limit.
Do standard school markers work for these techniques?
School markers are usually water-based. They are great for kids' coloring, but they don't allow for the same blending and gradient techniques as professional alcohol-based markers.
Now that you've mastered the best marker techniques, it's time to get to work! Explore our vast collection at Desenhando e Colorindo, pick your favorite themes, grab your pens, and start creating amazing art today. Don't forget to browse our categories and enjoy all our free printable coloring pages to flex your creativity! 🎨✨
Escrito e revisado por Armando Amaro
Fundador do Desenhando e Colorindo. Todo artigo passa por curadoria e revisão humana antes de ser publicado.