Tips for Coloring Realistic Parrots and Birds
09 de novembro de 2026
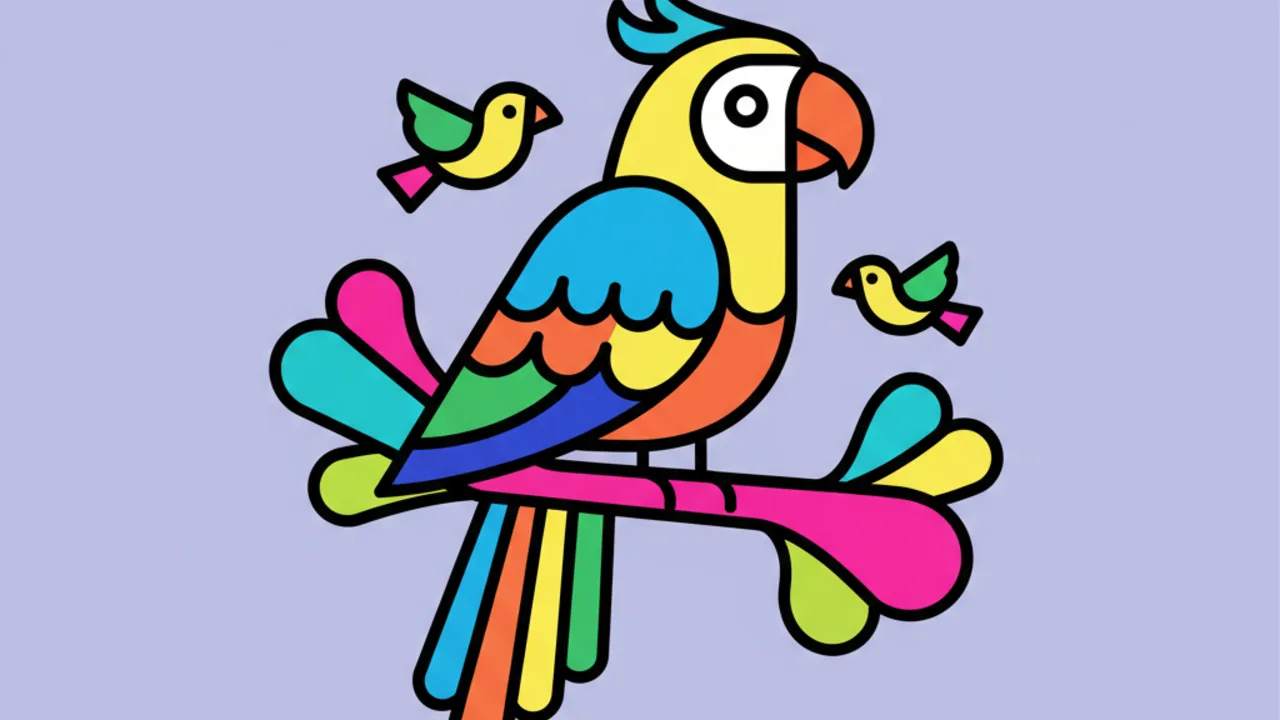
Master the techniques to create stunningly realistic parrot coloring pages. Elevate your art with expert shading guides and vibrant color palettes! 🦜✨
Observation Techniques for Realistic Parrot Drawings
To create free printable coloring pages with a realistic look, the first fundamental step is the detailed observation of bird anatomy. Parrots have strong, curved beaks, zygodactyl feet (two toes facing forward and two backward), and plumage extremely rich in textures.
When downloading your coloring sheets from Desenhando e Colorindo, notice how the feathers overlap. They work like fish scales, creating rhythmic patterns that guide the viewer's eye. Understanding this structure makes it easier to apply shading later on.
Remember that realism isn't just about color; it's about volume. Use real photo references while working on your educational drawings to understand where light naturally hits the bird's head and wings, creating contrasts that bring the paper to life.
Choosing the Right Materials to Color Birds
The success of your kids' line art or adult project depends heavily on the tools used. If you chose to print our files, pick a higher weight paper, like 120g or 180g (32lb to 65lb cardstock), especially if you plan to use markers or wet techniques.
- Watercolor pencils: Excellent for creating smooth transitions between the green, yellow, and blue of the feathers.
- Fine liners/Fineline pens: Ideal for reinforcing beak and claw details after coloring.
- Kneaded erasers: Essential for creating highlights in the eyes and on top of the feathers.
- Professional colored pencils: These allow for layering multiple coats, a vital technique for realism.
Using quality materials on our free drawings transforms a simple activity into a true art project. The paper's texture directly influences how pigment is deposited, ensuring your printed digital coloring book has a flawless finish.
Mastering Feather Texture
The biggest challenge when dealing with bird coloring activities is the texture. For a realistic effect, don't color the feather as a solid block of color. Instead, use thin, quick strokes following the direction of the feathers' growth.
Layering Colors
Always start with the lightest colors. If you're coloring an Amazon Parrot, start with a soft yellow on the face and lime green on the body. Gradually add forest green and blue tones to the wingtips to add depth to your cute drawings and realistic pieces.
Layering is the secret. By applying green over yellow, you create a natural transition that mimics the real iridescence of tropical birds. Use a white pencil to burnish (blend) the areas where the light is strongest, softening the pencil strokes.
Pro Tip: Use a sharp object (like a mechanical pencil without lead) to lightly indent the paper before coloring. This will create white grooves that simulate feather fibers when you pass the colored pencil over them.
Realism in the Details: Eyes and Beak
What sets a common drawing apart from a realistic masterpiece is the focus on facial details. Parrots' eyes usually have a well-defined pupil and an iris that can range from orange and yellow to brown tones. Always leave a tiny white spot uncolored in the eye to simulate light reflection.
The beak has a harder, matte texture. Use shades of gray, black, and brown, applying shadows in the creases and under the upper mandible. When working with coloring for kids in an educational way, show them how the shadow cast by the beak onto the neck helps define the bird's shape.
Don't forget the cere (the area where the nostrils are located). It usually has a different texture than the rest of the beak, more porous. Use light stippling with a very sharp pencil to replicate this feature in your coloring pages to print.
Background and Composition to Enhance Your Art
A realistic parrot floating in the white space of the paper loses its impact. Integrate your bird into a natural environment. At Desenhando e Colorindo, we offer AI-generated drawings and manual ones that already include branches, tropical leaves, and flowers.
Painting the Habitat
For the leaves, use different variations of green than those used on the bird so it doesn't "disappear" into the background. Earthy browns and mossy tones are great for branches. Use a background blur technique (coloring more softly and with less detail) to keep the total focus on the main parrot.
- Add lichen textures to branches with small pencil taps.
- Create dew drops on leaves using circles with internal shadows.
- Keep the light source consistent across the entire scenery and the bird.
These additions make the printable art experience much richer and more professional, encouraging the development of spatial and aesthetic perception in whoever is coloring.
Advanced Shading and Color Theory
To make your parrot drawing jump off the page, you need to understand complementary shadows. Instead of just using black to shade green, try using a deep blue or even a very dark red (green's complementary color) in areas of intense shadow.
This prevents the colors from looking "muddy" or grayish, maintaining the characteristic vibrancy of tropical birds. November is a great month to practice these warm colors, drawing inspiration from the approaching summer and the liveliness of fauna in our coloring pages.
Explore reflected light as well. If the parrot is near a red flower, a small part of the bottom feathers might have a slight reddish glow. This level of detail is what transforms ordinary coloring sheets into realistic art studies.
How to Print and Prepare Your Activity
To ensure the drawing's lines don't smudge, make sure the printer ink is completely dry before starting. If you're using an inkjet printer, avoid using too much water if painting with watercolors, as standard paper may tear and the black ink may bleed.
Desenhando e Colorindo makes this process easy by offering high-resolution files. This ensures that even when printing in larger sizes, the kids' line art lines remain crisp, serving as the perfect guide for your realistic shading.
Therapeutic Benefits of Realistic Coloring
Realistic coloring requires focus and patience, making this practice an excellent form of mindfulness. By concentrating on each tiny fiber of a feather in educational drawings, you disconnect from daily stress and practice patience.
For children, this activity helps develop fine motor skills and perception of detail—essential skills for writing and visual arts in the future. It's a way of coloring online or on paper that combines fun with deep learning about nature.
Frequently Asked Questions
What is the best pencil for shading bird drawings?
Soft pencils (B series) are great for sketching, but for realistic coloring, oil-based or high-quality wax-based colored pencils are best, as they allow for many layers without saturating the paper too soon.
How do I create a shine effect on parrot feathers?
The secret is to preserve the white of the paper in the areas of maximum highlights or use a white gel pen to add the final reflections over the coloring. This gives a satiny plumage look.
Can I use markers for realistic drawings?
Yes, but standard markers often leave visible streaks. Ideally, use alcohol-based markers, which allow for blending colors while they are wet, creating the smooth transitions ideal for realism.
Where can I find parrot templates to practice?
At Desenhando e Colorindo, we have a complete gallery of free printable coloring pages with various types of birds, from macaws to detailed parrots, perfect for practicing these techniques.
Conclusion
Mastering the art of coloring parrots realistically is a journey of constant observation and practice. With the right shading techniques, color layering, and attention to feather details, you can turn any line art into a masterpiece. Don't wait—start right now: pick your favorites, get your pencils ready, and enjoy our printable coloring pages to bring nature to life with your own hands!
Escrito e revisado por Armando Amaro
Fundador do Desenhando e Colorindo. Todo artigo passa por curadoria e revisão humana antes de ser publicado.