Marker Gradient Techniques for Educational Coloring Pages
31 de agosto de 2026
Discover how to create stunning marker gradient effects on educational coloring pages. Pro tips to bring life and depth to your printable art projects! 🎨
Essential Marker Gradient Techniques for Educational Coloring Pages
Mastering the art of shading and color transitions using school markers is one of the most fun ways to turn simple educational drawings into true masterpieces. For those using Desenhando e Colorindo, learning to blend tones helps not only with aesthetics but also with developing fine motor skills and visual perception in little artists.
The secret to a great gradient on coloring pages lies in the choice of paper and stroke speed. Since markers are water or alcohol-based, they tend to saturate paper fibers quickly. That's why, when working with free printable coloring pages, we always recommend printing on slightly heavier paper, like 120g or 180g (32lb to 67lb cover), to prevent the ink from bleeding through or causing tears during layering.
This month, classroom and at-home activities get a new glow when we apply textures. Gradients allow you to create the illusion of volume in cute drawings of fruits, animals, and geometric shapes, making learning much more dynamic and visually appealing for kids and adults looking for relaxation through kids' line art.
Pro tip: Always start with the lightest color in your palette. It's much easier to darken an area than to try to lighten a pigment that is already saturated on the paper. Test the blend on a scrap piece of paper before applying it to your final drawing.
Choosing the Ideal Color Palette
To create a smooth effect on your printable art, you'll need at least two or three markers in similar tones. For example, a light blue, a medium blue, and a dark blue. If you are coloring a printed digital coloring book, check if the colors complement each other on the color wheel.
Another cool technique is using analogous colors, like yellow and orange, to simulate sunlight in landscapes. The AI-generated drawings available on our platform offer precise outlines that make applying these techniques easier, allowing the user to focus entirely on the tonal transition without worrying about jagged edges.
Step-by-Step Wet Transition
The most effective technique for standard school markers is blending while the ink is still wet. When applying the first layer of color to your educational drawings, don't wait for it to dry. Immediately after applying the light color, come in with the mid-tone using circular motions or small, quick strokes in the area where the two colors meet.
This speed is crucial to avoid those dreaded "brush marks" that happen when ink dries unevenly. In complex coloring activities, work in small sections at a time. Don't try to paint the entire background at once; divide the space into smaller areas to ensure you can always blend the edges while the paper is still receptive to the pigment.
Advantages of Using Markers on Printed Drawings
- Color Intensity: Markers offer a vibrancy that colored pencils rarely reach, ideal for cute character drawings.
- Convenience: They don't need sharpeners and are easy to carry anywhere, making fun easy during trips or school breaks.
- Sensory Development: The glide of the felt tip on the paper provides different tactile feedback, stimulating a child's perception.
- Variety: There are fine tips for details and chisel tips for filling large areas on coloring pages.
How to Avoid Smudges and Bleeding on Printable Art
One of the biggest challenges when using markers in coloring activities is ink bleeding outside the lines. To prevent this from ruining your work, try to paint about a millimeter inside the line art black line. Marker ink tends to expand slightly in the paper fibers after application.
Additionally, print quality is fundamental. If you use an inkjet printer, make sure the black ink is completely dry before you start coloring with markers; otherwise, the black might smudge and turn your vibrant gradient colors gray. At Desenhando e Colorindo, our lines are optimized to ensure maximum clarity on any type of printing device.
Advanced Techniques: Using a "Blender" or White Marker
For those already at an intermediate level in the art of coloring for kids and adults, using a colorless marker (known as a blender) can work miracles. It doesn't deposit color but helps reactivate pigments already on the paper, smoothing out the gradient edges. If you don't have a professional blender, a very light yellow marker can work to blend green and orange tones effectively.
Also, try leaving white areas on purpose to simulate light reflections (highlights). In AI-generated drawings, where shadows might already be suggested by the line work, this technique reinforces three-dimensionality, making the object seem to pop off the page.
Complementary Materials for Better Results
While the focus here is markers, combining materials can elevate your free printable coloring pages. You can do the gradient base with a marker and use colored pencils on top to smooth the transition even further. This mixed media technique is widely used by professional kids' line art artists.
- 180g (67lb) Offset Paper: The best value for those who love using markers without staining the table.
- 0.4mm Fineliners: Excellent for reinforcing tiny details after the gradient is done.
- Protective Base: Always use a "buffer" sheet of scrap paper under your coloring page to protect your work surface.
Gradients in Specific Themes
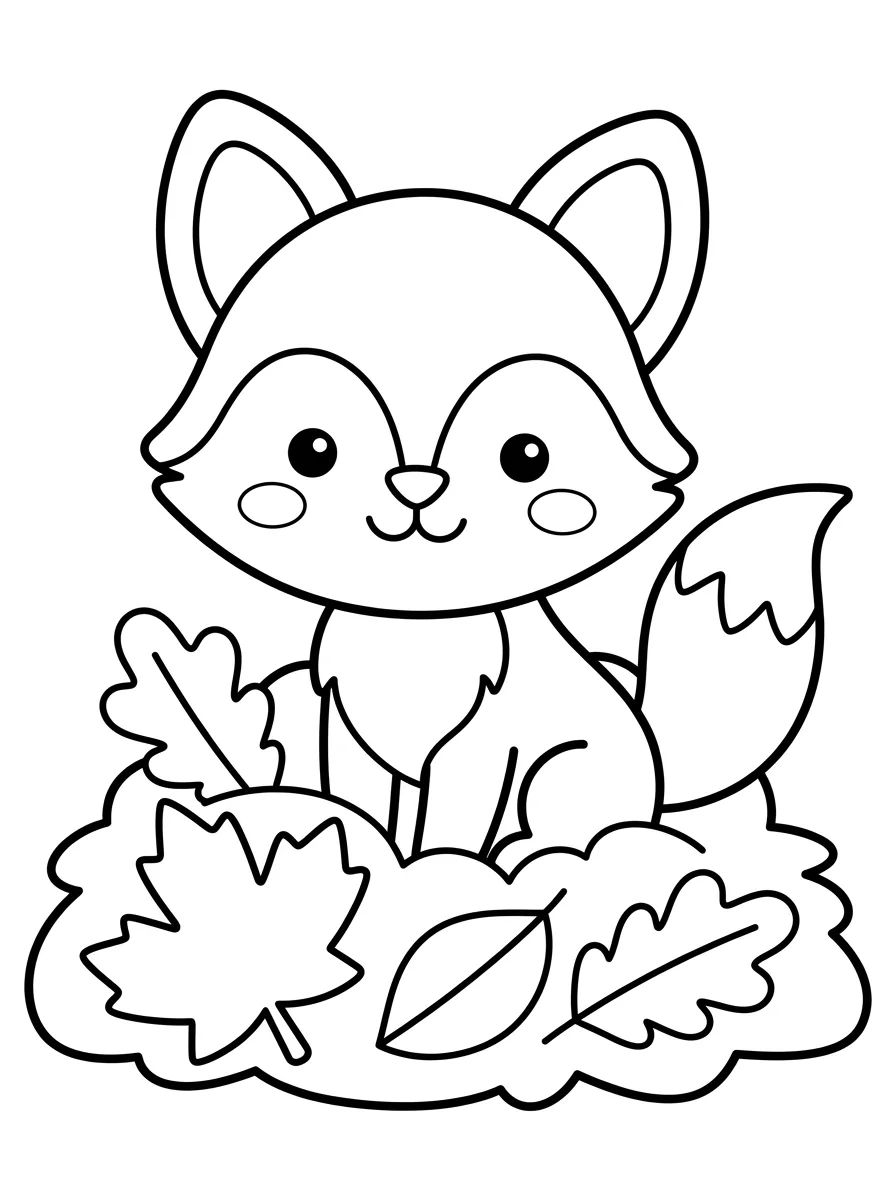
Depending on the season, a great idea is to apply these techniques to drawings that evoke nature. Drawings of kites, pinwheels, and forests allow you to explore blue gradients in the sky and mixtures of greens and browns in the vegetation. Themed coloring pages are perfect for testing how colors behave in large fill areas.
Exploring Online Coloring Before Printing
If you're unsure about which color combination to use, a great strategy is to practice online coloring on our site. By testing colors digitally, you can see which tones look most harmonious together before using up your physical marker ink. It’s a smart way to plan your art and ensure a flawless final result on your printable art.
Our AI drawing technology also allows you to generate variations of the same theme, letting you practice the gradient multiple times on the same character, just changing the lighting or color palette, which is a fantastic educational exercise for art and design students.
Frequently Asked Questions
How do I make a gradient with regular school markers?
To make a gradient with common markers, use the quick layering technique. Paint the area with the lightest color and, before it dries, apply the darker color at the base, then go back over the seam with the light color to blend the pigments.
What is the best paper for printing drawings to paint with markers?
Standard printer paper (20lb/75g) usually wrinkles and bleeds through. The ideal for free printing and marker coloring is Offset or matte cardstock with a weight between 120g and 180g, which handles ink moisture better.
Can I mix different brands of markers in the same gradient?
Yes, as long as the ink base is the same (both water-based or both alcohol-based). Mixing different bases can result in unexpected spots or damage the tips of the lighter markers.
How do I stop markers from bleeding through and staining the table?
The simplest way is to place a "sacrificial" sheet of paper or a plastic mat under your coloring page. This will absorb the excess ink that passes through the paper fibers during the gradient process.
Now that you know all the secrets to creating incredible transitions, how about getting to work? Visit our gallery, pick your favorite free printable coloring pages, and start practicing today. Remember that practice makes perfect, so don't be afraid to make mistakes and experiment with new color combos at Desenhando e Colorindo!
Escrito e revisado por Armando Amaro
Fundador do Desenhando e Colorindo. Todo artigo passa por curadoria e revisão humana antes de ser publicado.