Colored Pencil Techniques: 5 Tips for Better Coloring Pages
26 de agosto de 2026
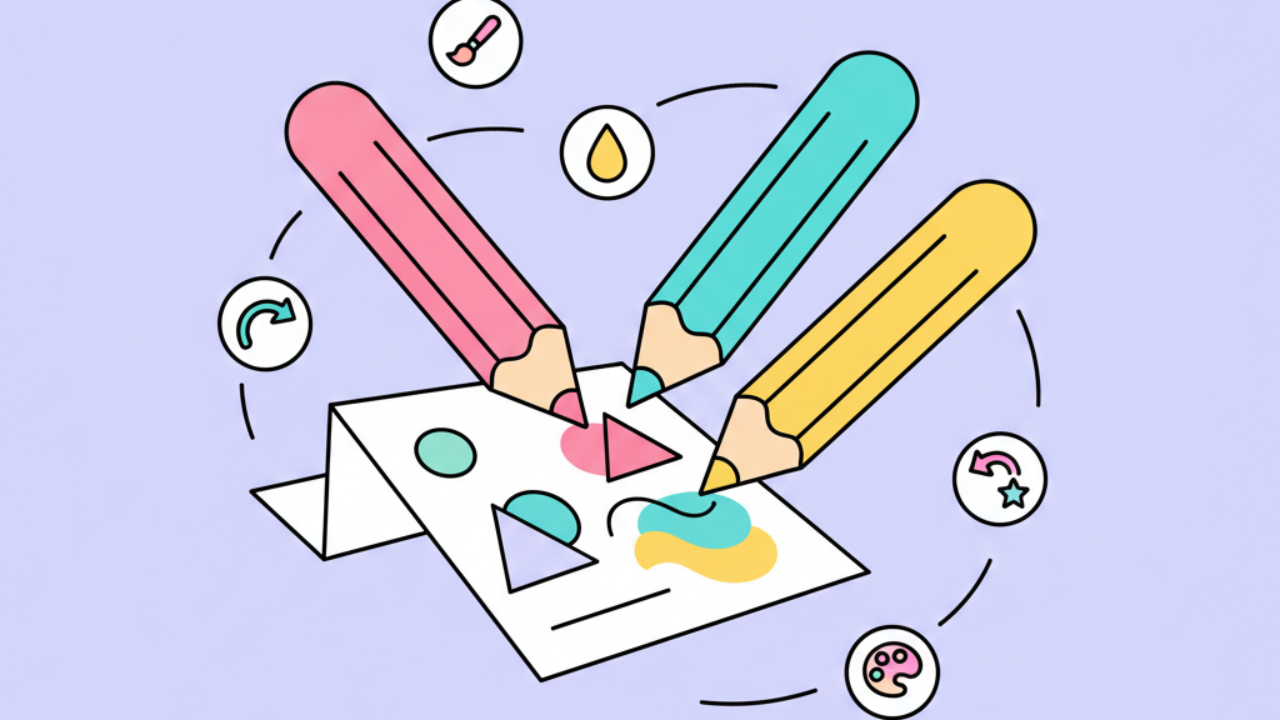
Discover how to use colored pencils like a pro! Learn 5 practical tips to bring life and depth to your favorite printable coloring pages today.
Mastering colored pencils is the first step toward transforming simple coloring pages into true masterpieces. While it might seem like a hobby just for kids, coloring with pencils requires technique and patience to achieve professional results, with smooth gradients and vibrant colors that pop off the page.
In this complete guide from Desenhando e Colorindo, we'll explore strategies to help you get the most out of your printable coloring pages. Whether you're a parent supporting your child's artistic development or a fan of free printables, these tips will take your coloring skills to the next level this August.
1. Choosing the Right Paper and Surface
Many people believe any paper will do for printing cute drawings, but the weight and texture directly affect how the pencil performs. For the best results in your coloring activities, we recommend using paper with a weight of at least 120g (32lb) or higher.
Texture vs. Pigmentation
Paper that is too smooth makes it hard for the pigment to stick, while paper with too much texture (like watercolor paper) can leave small white spots in your work. The ideal balance allows you to build layers of color without saturating the paper fibers too early.
Workspace Setup
Make sure you color on a flat, clean surface. Any bumps on the table can transfer to your printed digital coloring book, creating unwanted marks in the middle of your shading. Keep your pencils sharp; a fine point is essential for details in kids' line art.
2. The Layering Technique: The Secret to Depth
The most common mistake when using colored pencils is applying too much pressure right at the start. To create free printable drawings with a professional look, the secret is working in light, successive layers.
Building Color Gradually
Start with a very light touch, barely grazing the paper. Apply a light base color and gradually darken it. This allows you to blend different shades, creating highlights and shadows that give volume to the object. If you are coloring an AI-generated drawing from our site, you'll see that fine details require this delicate touch.
Circular Motions and Precision
Instead of scribbling in straight lines, try using small circular motions. This technique helps cover the paper's pores evenly, avoiding those scratchy stroke marks that can ruin a piece. It’s perfect for filling large areas in coloring pages without leaving gaps.
Pro Tip: Always start coloring from the lightest shades to the darkest. It is much easier to darken an area than to try to lighten a strong pigment that has already bonded with the paper.
3. Color Blending and Smooth Gradients
The magic happens when you stop using just one static color. When you download your educational drawings, think about how colors interact in nature. A lawn isn't just green; it has hints of yellow, blue, and brown.
Analogous Colors
Use neighboring colors on the color wheel to create natural transitions. For example, in a sunset coloring page, blend yellow with orange and then with red. Overlapping these colors slightly creates a fusion effect that a single pencil can't achieve.
Using the White Pencil
The white colored pencil isn't just for drawing on black paper. It works as an excellent "blender." By going over a colored area with white using a bit more pressure, you burnish the pigments, eliminating white spots and leaving the finish smooth and glossy.
4. Pressure Control and Shading Effects
The pressure you exert on the pencil defines the color's tone. Controlling this force is vital for giving 3D depth to your printable art. In cute character drawings, for instance, areas under the chin or behind the arms should receive a bit more pressure.
- Light Pressure: Ideal for highlights and reflections.
- Medium Pressure: Used for the base color of the object.
- Firm Pressure: Reserved for the deepest shadows and outlines.
Light Direction
Before you start coloring your line art, decide where the light is coming from. If the light comes from the right, the left side of every element in the drawing should be darker. Consistent lighting is what separates a simple drawing from an impactful illustration.
5. Finishing and Preserving Your Art
After dedicating time to your printable coloring pages, it's important to ensure the pigment doesn't smudge. Wax-based colored pencils can shed dust or create a "wax bloom" over time.
Cleaning Residue
Use a soft, dry brush to sweep away pencil crumbs. Never use your hand, as skin oils can smudge the paper and trap color dust where you don't want it. This step is crucial for keeping complex coloring activities clean.
Fixative Spray
For adult artists or important school projects, a matte fixative spray can be applied. This protects the color from fading due to light and prevents the drawing from smudging when it touches other pages in your physical digital coloring book.
Benefits of Coloring for Development
Coloring isn't just fun; it's a powerful educational tool. By using online coloring pages or printables, children practice fine motor skills necessary for writing. Additionally, choosing colors stimulates decision-making and emotional expression.
Focus and Concentration
In a digital world, sitting down with paper and pencils promotes a state of "flow" or mindfulness. For adults, it's an effective way to reduce daily stress. That’s why at Desenhando e Colorindo, we focus on offering coloring pages for all ages, from beginner to advanced levels.
- Improves manual dexterity.
- Stimulates visual creativity.
- Develops patience and persistence.
- Provides a tech-free moment of relaxation.
Frequently Asked Questions
What is the best type of pencil to start with?
For those starting out with coloring pages, high-quality school-grade pencils are enough. If you want more professional results, watercolor pencils (used dry) or soft-core wax pencils offer better coverage and blending.
How do I stop my colored pencil tips from breaking?
Avoid dropping your pencils, as the impact can break the internal lead. Use sharp-bladed sharpeners and don't force the pencil too hard. Very long points tend to break more easily when coloring kids' line art.
Can I mix colored pencils with other materials?
Yes! It’s very common to use markers for outlines and colored pencils for smooth filling. You can also use crayons for large areas and finish details with pencils, creating interesting textures in your printable art.
Where can I find new drawings to practice?
The Desenhando e Colorindo website updates its free printable drawings library weekly. You can browse by category, use our AI tool to create unique themes, or choose from hundreds of educational and fun options.
Conclusion
Practicing colored pencil art is a constant journey of discovery and relaxation. By applying these layering, pressure, and blending techniques, you'll see rapid improvement in every new page you print. Remember that the most important part is the creative process and the fun it brings. Visit our gallery now, pick your favorite coloring pages, and start putting these tips into practice today!
Escrito e revisado por Armando Amaro
Fundador do Desenhando e Colorindo. Todo artigo passa por curadoria e revisão humana antes de ser publicado.