How to Draw Character Ears: Angle Guide & Coloring Tips
28 de agosto de 2026
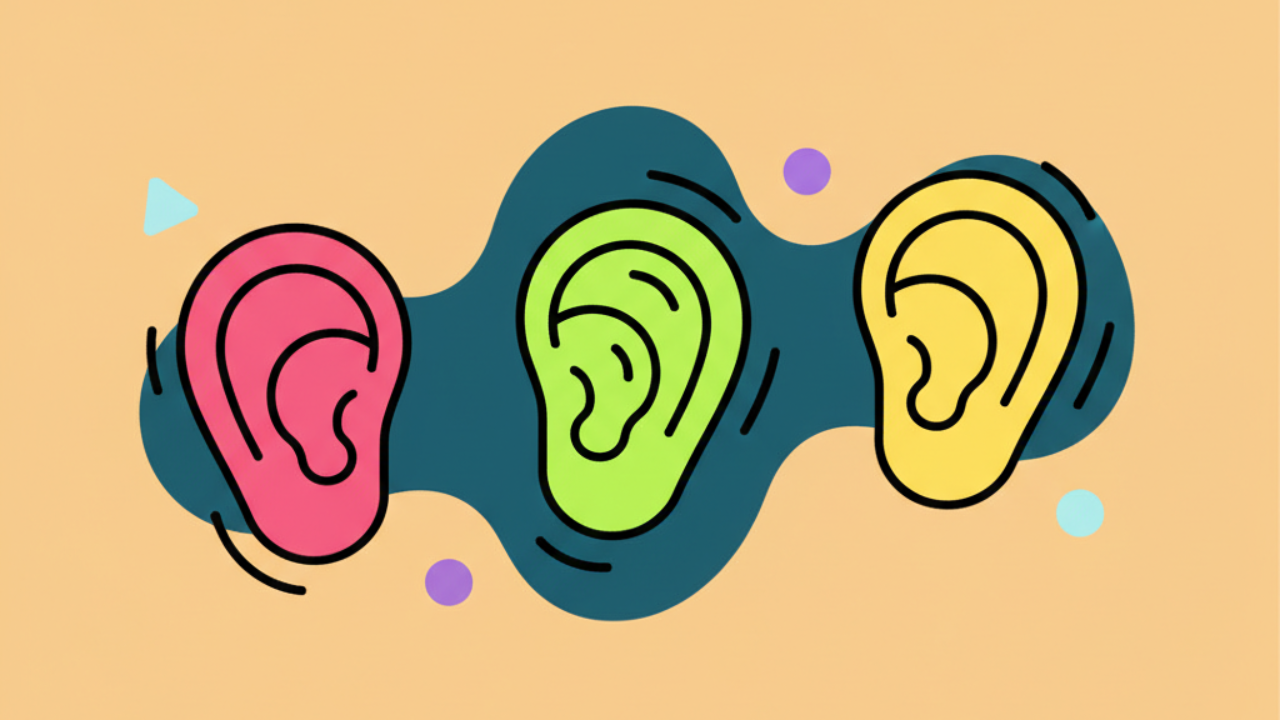
Learn how to draw ears from different angles to create amazing line art. Practical tips to perfect your drawings for free coloring and printing! 🎨✨
Understanding Basic Anatomy for Coloring Pages
When creating your own coloring pages, understanding the structure of ears is one of the fundamental steps to bring life and personality to characters. The human ear, or that of fantastical creatures, is not just a static detail; it visually transforms depending on the head's perspective.
For those looking to print free professional-quality drawings, realizing that the ear is usually situated between the eyebrow line and the base of the nose is the first secret. When we change the viewing angle, this spatial relationship creates distortions that define the realism of your kids' line art or adult illustrations.
In this August guide, we'll explore how these shapes behave. If you're practicing to create your own educational drawings or just want to better understand the art before using online coloring tools, mastering angles is essential for a harmonious result.
Ears in Profile: The Line Art Starting Point
The profile view is the most common in coloring activities. From this angle, we see the ear in its entirety, showing the concha, the lobe, and the external helix. It's the ideal moment to detail the folds that make cute drawings more expressive.
Imagine the ear is composed of an external 'C' shape and an internal 'Y'. When drawing for a digital coloring book, keep the lines clean. This makes it easier to fill in colors, whether with colored pencils on printed paper or using AI generated art tools.
Remember that the inclination of the ear in profile slightly follows the jawline. When you print drawings to practice, try tracing these guide lines over them to understand the fluidity of movement and anatomy.
Technical Tip: When drawing ears for coloring, avoid excessive internal details if the drawing is small. Simple, continuous lines ensure that the color doesn't bleed when using markers or paints.
Three-Quarter View: Depth in Drawing
The three-quarter view is the preferred challenge for those looking to create printable art with volume. From this angle, the ear begins to hide behind the cheek or protrude more, depending on where the character is looking.
When the face turns slightly, the ear appears narrower horizontally. This is what we call foreshortening. For kids' coloring enthusiasts, this effect gives a 3D feel, transforming a flat drawing into something much more dynamic and professional.
When preparing your line art, focus on the outer edge of the ear (the helix). It will gain more prominence, while the inner part (the concha) will be partially obstructed by the tragus, that small bump in front of the ear canal.
Key Elements in 3/4 Perspective
- Lateral Foreshortening: The width of the ear visually decreases.
- Placement: The ear appears to move closer to the edge of the face.
- Overlap: Parts of the cartilage hide the ear canal.
- Connection to the Neck: The line descending from the ear defines the side of the neck.
Ears Seen from the Front: Subtlety and Symmetry
In free printable coloring pages where the character faces the viewer, the ears appear in a very specific way. They stop looking like a "C" and are seen as side flaps attached to the skull.
Many beginners make the mistake of drawing the entire ear from the front, which makes the character look strange. In reality, we only see the outer edge and a bit of the upper curve. This is crucial for maintaining harmony in educational drawings that teach human proportion.
If you are using AI generated drawings to create coloring bases, you'll notice that AI often simplifies these frontal shapes to keep the focus on the eyes and mouth, which are the expressive centers of the face.
Top and Bottom Perspective: Ears in Motion
When the character looks up (worm's eye view) or down (bird's eye view), the ears drastically change position relative to the eyes and nose. This is an advanced technique for those who want to create epic or dramatic coloring pages.
When looking down, the ears appear to move up on the head. The top of the ear may be above the eyebrow line. When looking up, the ears appear to move down, sitting near or below the jawline. Understanding this is vital for coloring activities involving action.
These variations are excellent for online coloring, as they allow you to play with shadows and lights in different ways, creating visual depth and highlighting the character's three-dimensionality on paper.
Stylization for Different Drawing Styles
Not all ears need to be realistic. In the world of cute drawings and Kawaii style, ears are often simplified into small semicircles. In adventure styles, they might be pointed or larger to indicate fantasy traits.
Below, we list how to adapt ears for various styles of printable art:
- Cartoon Style: Circular ears with no internal details, focusing on the silhouette.
- Anime Style: More detailed ears with angular lines, ideal for complex line art.
- Chibi Style: Disproportionately large or simplified ears to enhance cuteness.
- Realistic Style: Full focus on cartilage folds and gradual shading.
The Importance of Clean Line Art for Printing
To ensure your free printing experience is perfect, line quality (line art) is the determining factor. A very shaky line or one with too many small details can make it difficult for young children to use crayons or colored pencils.
At Desenhando e Colorindo, we value drawings with well-defined outlines. When drawing ears, make sure to close all shapes. If there's a gap in the line, when using online coloring tools (like the paint bucket), the color can leak to the rest of the character's face.
Having a collection of coloring pages with different head angles helps develop spatial perception, making it a great pedagogical tool for teachers who use educational drawings in the classroom.
Printing Tip: Always check your printer's contrast settings before generating your coloring page. Well-defined black lines help guide a child's hand during coloring.
How to Use AI to Create Ear References
The technology of AI generated drawings has opened incredible doors for artists and parents. You can request specific angles to create your own personalized coloring pages. For example, asking for a "character in profile with a focus on the ear" generates a perfect base for study.
These tools allow you to generate kids' line art on demand, ensuring you always have new material to print and color at home. At Desenhando e Colorindo, we use these technologies to complement our manual collection, offering the best of both worlds.
Integrating AI into the creative process helps overcome artistic block and provides variations in angles that would sometimes be difficult to imagine alone, enriching your digital coloring book.
Frequently Asked Questions
What is the correct height for ears in a drawing?
In a standard human face, ears generally start at the height of the eyebrows and end at the height of the base of the nose. This proportion is ideal for educational anatomy drawings.
How do I draw animal ears for coloring?
Animal ears vary greatly, but the basic principle is the same: understand the point of insertion on the skull. Rabbit or cat ears are great for cute drawings and require simple, long outer lines.
Why do my ears look crooked in the line art?
Probably due to a lack of alignment with the head's tilt. Use horizontal guide lines to ensure both ears are on the same visual plane before you print free drawings.
Can I color the website's drawings on a tablet?
Yes! Our drawings are optimized for online coloring or for downloading and using in digital painting apps, functioning as a complete digital coloring book.
Mastering drawing ears from different angles will elevate the quality of your illustrations, making your coloring pages much more attractive and professional. Practice each perspective and explore our vast collection at Desenhando e Colorindo. Don't waste time and choose your favorites now to print and color, transforming every stroke into a unique work of art!
Escrito e revisado por Armando Amaro
Fundador do Desenhando e Colorindo. Todo artigo passa por curadoria e revisão humana antes de ser publicado.