How to Color Realistic Anime Eyes: A Step-by-Step Guide
20 de outubro de 2026
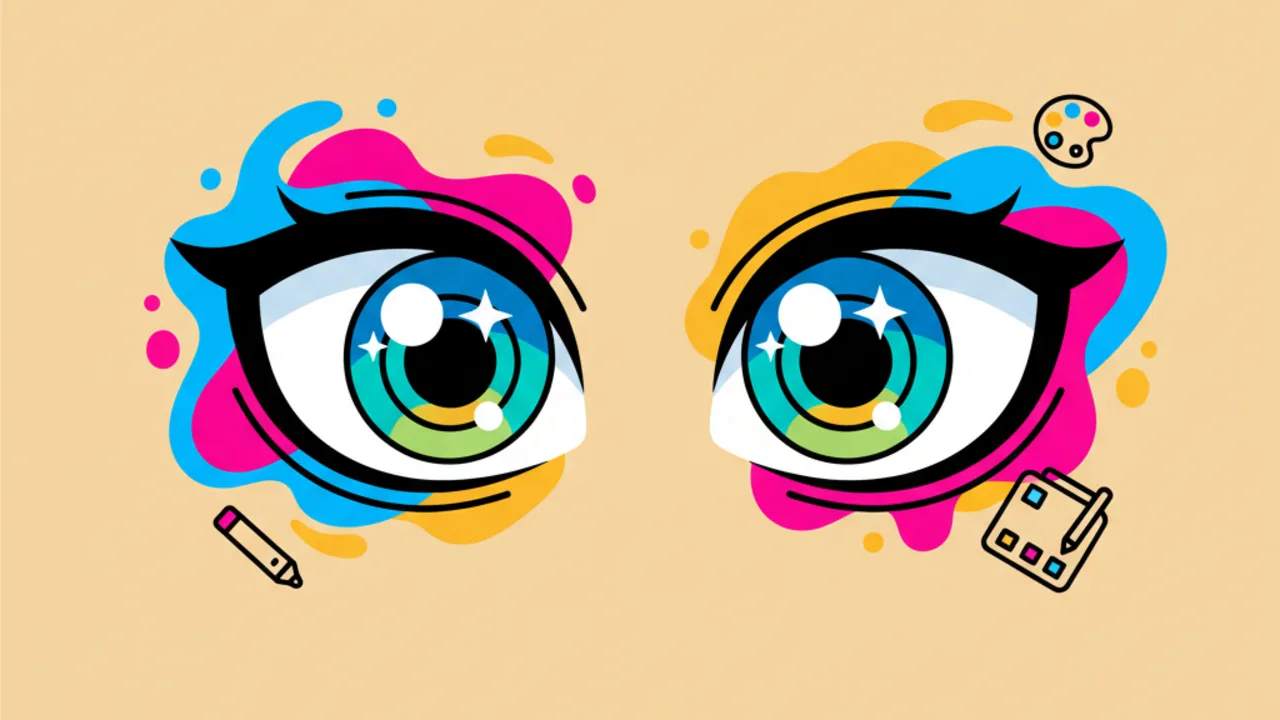
Master the art of coloring realistic anime eyes! Discover expert tips to add depth, life, and sparkle to your favorite coloring pages. 🎨✨
Essential Techniques for Adding Sparkle and Depth to the Gaze
Coloring anime eyes requires extra attention, as they are the key element that conveys all the character's emotion. When choosing printable coloring pages from Desenhando e Colorindo, you need to plan your color layers before your pencil even touches the paper. Depth is achieved through the contrast between the darkest areas of the pupil and the highlights of light.
Always start with the base color, which should be the lightest shade of your chosen spectrum. If you’re coloring a blue eye, use a cyan or baby blue tone to fill the entire iris. This initial layer serves as the foundation for the shadows to come, ensuring your digital coloring book or printed page has a professional finish.
Applying shadows is the next step to creating volume. In anime character drawings, the upper part of the iris is usually darker due to the shadow cast by the upper eyelashes. Use a medium-tone colored pencil to create this smooth gradient, blending down toward the center of the eye.
The Importance of Materials and Surfaces
To get a realistic result on your coloring pages, choosing the right materials is crucial. Standard printer paper works fine, but heavier weight paper allows you to overlay more color layers without tearing the fibers. This is essential for those looking for advanced printable art techniques.
Watercolor or permanent colored pencils are great options, but alcohol-based markers are the favorites of professional anime illustrators. They allow for seamless blending that eliminates pencil strokes, leaving the character's gaze much cleaner and more vibrant.
Pro Tip: Always keep a white colored pencil or a white gel pen handy. These are the ultimate tools for creating "highlights" or final light points, giving that wet, glass-like look to the eyes.
Understanding Simplified Anime Eye Anatomy
Even though they are stylized, eyes in educational drawings and entertainment follow a structural logic. Understanding each part helps you apply colors in the right places:
- Sclera: The white part of the eye, which in realistic drawings is never pure white, but slightly grayish around the edges.
- Iris: Where the color magic happens, ranging from gradients to radiant textures.
- Pupil: The central, darkest point that defines the character's focus.
- Reflections: White circles or ovals that indicate the external light source.
When downloading your free drawings at Desenhando e Colorindo, notice how the iris outline is usually thicker at the top. This isn't accidental; it’s a design technique to give weight to the gaze. Respecting these line art for kids or adults helps maintain fidelity to the original style.
Working with Gradients and Smooth Transitions
The secret to realism lies in the invisible transition between colors. To master this technique, you must practice pencil pressure. Start by applying firm pressure at the top of the iris and gradually lighten it as you move toward the bottom. This creates a natural lighting effect, as if the light is coming from above.
You can mix complementary colors to create richer shadows. For example, if the eye is green, use a bit of purple or dark blue for the deepest shadows at the top. This adds a visual complexity that transforms simple coloring activities into true works of art.
Don't be afraid to experiment with AI-generated drawings available in our gallery, as they offer complex details that challenge your coordination and aesthetic sense. Constant practice leads to perfection! 🎨✨
Common Color Combination Tips
To help your creative journey, here are some combinations that never fail in printable coloring pages:
- Fiery Eyes: Yellow base, orange gradient, and burgundy shadows.
- Ocean Eyes: Turquoise base, royal blue gradient, and navy shadows.
- Mystic Eyes: Lilac base, purple gradient, and blue-black shadows.
- Forest Eyes: Lime green base, emerald gradient, and coffee brown shadows.
Creating Light Effects and Magical Particles
Many anime characters have fantastic elements in their eyes. To replicate this on your coloring pages, you can add small stars or white dots around the pupil. These details make the gaze shine intensely, capturing the viewer's attention.
Another trick is to leave a small lighter edge at the bottom of the iris, just below the pupil. This simulates reflected light entering through the lens, a subtle detail that sets an advanced colorist apart from a beginner. Remember that the goal of coloring for kids and adults is fun, so feel free to invent new colors.
Finishing and Preserving Your Work
After you finish coloring the eyes, it's important to seal your work. If you used colored pencils, a fixative spray can prevent the pigment from smudging over time. If you prefer online coloring, make sure to save in high resolution so the details don't get lost in pixels.
Keep your cute drawings organized in a physical or digital folder. Seeing your progress month by month is one of the most rewarding parts of the drawing and coloring hobby.
Frequently Asked Questions
How do I prevent colored pencils from smudging the drawing?
Always place a clean sheet of paper under your hand while coloring. This prevents skin oils or friction from smearing the graphite and pigments already applied to the coloring pages.
Can I use crayons to color anime eyes?
Crayons are harder to use for small details but can be used for the base. For the inner details of the iris, we recommend using sharpened colored pencils to ensure precision in your printable art.
What is the best color for shading the white part of the eye?
Avoid pure black. Opt for tones of bluish-gray or a very light lilac. This gives a more natural and less aggressive look to the character's gaze in your educational drawings.
How do I make white reflections if I don't have a gel pen?
The secret is to leave the white space on the paper from the start. Plan where the light reflections will be and simply don't paint those areas. This is the classic "negative space" technique used in watercolor and line art for kids.
Now that you've learned the best techniques to bring your favorite characters' gazes to life, how about putting them into practice? Visit our full gallery at Desenhando e Colorindo, pick your favorite printable coloring pages, and start creating vibrant, emotional artwork right now. Fun is just a click away! 🖍️✨
Escrito e revisado por Armando Amaro
Fundador do Desenhando e Colorindo. Todo artigo passa por curadoria e revisão humana antes de ser publicado.