How to Color Noses: A Guide to Line Art and Shading
28 de agosto de 2026
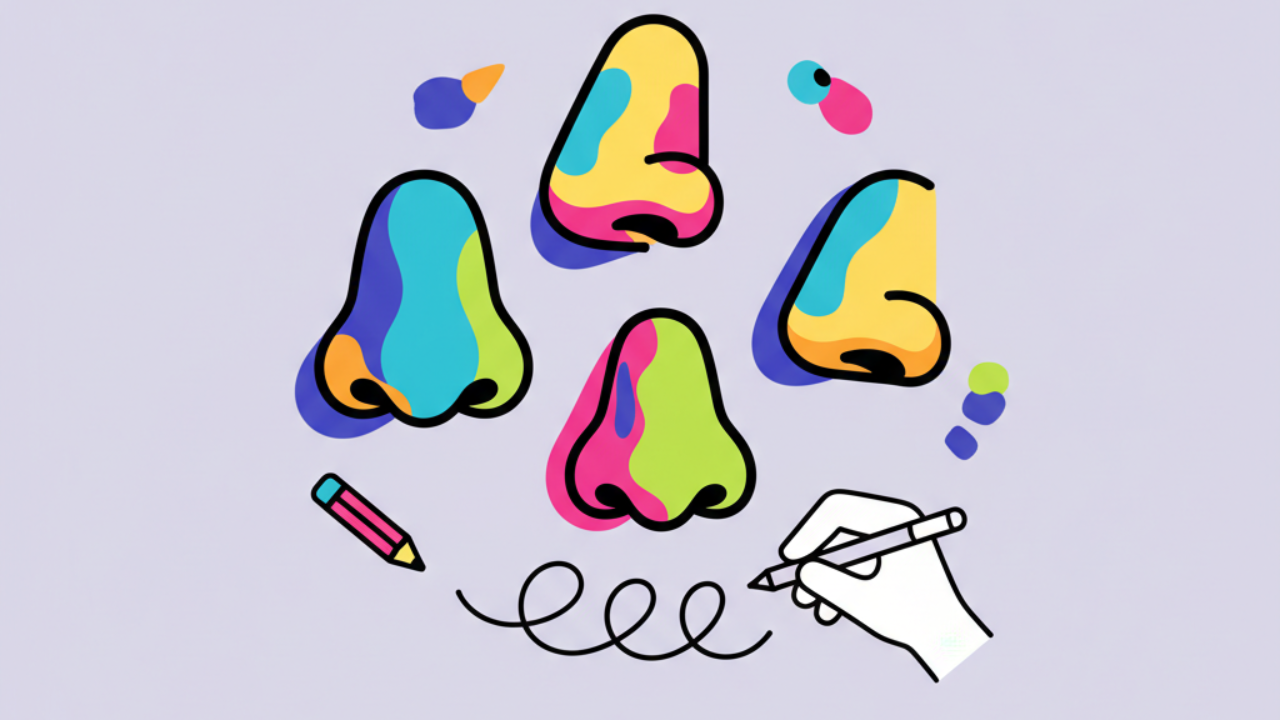
Learn how to shade and color noses from different angles with our professional line art tips. Download exclusive coloring pages to practice for free today!
Understanding Basic Anatomy for Coloring Pages
Mastering how to draw and paint noses is a fundamental step for anyone looking to level up their coloring activities and create realistic portraits. The nose, located right in the center of the face, defines the depth and personality of a character, whether in a realistic style or in cute drawings.
To start practicing on your coloring pages, it’s essential to understand that the nose isn’t just a flat triangle. It consists of surfaces that catch light in different ways, requiring the colorist to understand where to apply shading to create volume.
When you download your free printable drawings here at Desenhando e Colorindo, you’ll notice that the contour lines (line art) serve as a guide, but true realism comes from color transitions and pencil pressure.
Nose Structure at Different Angles
To practice noses from various angles, we need to break the structure down into smaller parts. This makes it easier when applying online coloring techniques or using physical materials like colored pencils and markers.
Profile View (Side)
In the profile angle, the focus is on the bridge's curve and the tip's projection. This is the best angle to practice kids' line art, as the lines are clear and shading is usually more linear, following the face's silhouette.
Frontal View
This is the biggest challenge for many artists looking for printable art. Without a strong contour line on the bridge, volume must be created entirely through soft shadows on the sides, highlighting only the tip and nostrils.
Three-Quarter View
The favorite angle for AI-generated drawings, as it combines frontal and side views. Here, one nostril is partially hidden, and the bridge of the nose becomes the main area for light transition.
Pro Tip: When coloring noses at complex angles, start by marking the tip with a light circle. This helps maintain the correct proportion before adding final shading to your coloring page.
Shading Techniques for Line Art
Shading transforms a flat drawing into a vibrant three-dimensional piece. When working with our educational drawings, consider using layers to build depth gradually, especially around the base of the nose.
A common technique for those who enjoy digital coloring books is using soft-edged brushes. On paper, the secret is patience. Apply the lightest color across the entire area and darken the edges of the nostrils and the bottom of the tip to create a lifting effect.
- Smooth Gradients: Use varied skin tones to avoid harsh lines.
- Highlights: Leave the tip of the nose and the top of the bridge uncolored or use a bright white pencil.
- Cast Shadows: Remember that the nose casts a shadow onto the upper lip, depending on the light source.
Recommended Materials for Free Coloring and Printing
To get the best results in your coloring activities, the choice of paper and pencils makes all the difference. Since we offer free drawings to color and print, you can test different media without fear of making mistakes.
Paper weights above 120g are ideal for those who like using watercolors or alcohol-based markers. For little ones who prefer cute drawings with crayons, standard printer paper works perfectly for fun at home or school.
If you prefer online coloring, use tools that allow layer opacity, making it easier to practice shading on noses without erasing the original lines from our AI technology.
How AI Helps in Learning to Draw
At Desenhando e Colorindo, we use AI-generated drawings to create perfect bases that help both beginners and veterans. The AI can generate precise anatomical variations, allowing you to study noses of different ethnicities and styles.
This is excellent for teachers looking for educational drawings, as it presents human diversity naturally. By printing these pages, students have a high-quality guide to practice observation and color application.
Technology doesn't replace talent, but it serves as a springboard for you to unleash your imagination and create unique, personalized coloring pages, exploring every detail of facial anatomy.
Step-by-Step: Coloring the Tip of the Nose
The tip of the nose is generally the brightest point on the face. To achieve a "glow" effect, follow this simple guide we’ve prepared for your next printable art projects:
- Step 1: Identify the light direction in your drawing.
- Step 2: Apply a neutral base (peach, light brown, or beige) to the entire nose.
- Step 3: With a darker tone, lightly outline the curve of the nostrils.
- Step 4: Use an eraser to create a light spot exactly on the upper curve of the tip.
- Step 5: Blend the edges so the transition between shadow and light is seamless.
Practicing with High-Quality Line Art
The quality of kids' line art is crucial. Lines that are too thick can hide shading details, while lines that are too thin can make it hard for younger children to stay within the lines. On our site, we balance these elements for all audiences.
Practicing noses from various angles takes repetition. Therefore, we recommend selecting multiple drawings to color from our catalog and creating a "study notebook" focused solely on faces and facial expressions.
Take advantage of the cozy weather to focus on indoor manual activities, stimulating motor coordination and relaxation through art.
Frequently Asked Questions
How do I prevent the nose from looking "dirty" when shading?
To avoid this effect, use warm colors for shadows and avoid using excessive pure black. Prefer tones of brown, earth, or even soft purples to create depth in your coloring pages.
What is the best color for the base of the nose?
The base should be the mid-tone of the skin color you chose. If you are coloring a fantasy character, the logic is the same: use the main tone and save variations for lights and shadows.
Can I print the drawings on any printer?
Yes! Our free printable drawings are optimized for home laser or inkjet printers. Just make sure to adjust the scale to fit an A4 page.
How do I color animal noses on coloring pages?
Animal noses, like those of dogs or cats, follow a texture logic. Use small dots (stippling technique) to simulate a moist, porous surface, focusing the shine in the center.
Conclusion
Practicing painting noses at various angles is an incredible way to elevate your art. With shading tips and the correct use of light, your coloring pages will come to life with realism. Don't wait—start right now: pick your favorite themes at Desenhando e Colorindo, click to print for free, and turn every piece of line art into a unique masterpiece!
Escrito e revisado por Armando Amaro
Fundador do Desenhando e Colorindo. Todo artigo passa por curadoria e revisão humana antes de ser publicado.