Coloring Line Art: Start with Large Shapes
27 de agosto de 2026

Master line art coloring techniques by starting with larger shapes. Make filling in your favorite free printable coloring pages easier than ever!
Why start with the large surfaces of your coloring pages?
When you open a new digital coloring book or prepare your printable art, the excitement can lead you to want to immediately detail a character's eyes or the tiny bits of a flower. However, the technique of filling in larger shapes is a secret shared by professional illustrators to ensure your free printable coloring pages have a flawless and balanced finish.
At Desenhando e Colorindo, we believe the foundation of a great painting starts with the big picture. When you focus first on the sky, the ground, or a character's skin, you establish the predominant color palette. This helps avoid the common mistake of choosing colors for details that don't end up matching the main areas of your kids' line art.
Additionally, coloring the larger parts first reduces the anxiety of looking at white paper. As the big blocks of color come to life, the drawing takes shape quickly, motivating kids and adults alike to keep going with more focus and patience for the next steps of their coloring activities.
The filling technique for educational drawings and line arts
When working with educational drawings, it's essential to teach that the order of operations changes the visual result. Starting with broad areas gives you more freedom of movement with colored pencils, crayons, or markers. If you start with tiny details, you risk accidentally coloring over them when filling in the larger surrounding area.
This approach is ideal for those using our AI-generated drawings. Since these arts usually have very precise lines, filling the background or the main body of the object first creates a solid base. You can use gentle circular motions to ensure the color is even, which is much easier to control in wide spaces than in tiny crevices.
Pro tip: When coloring a large background, use the side of the pencil lead to cover more area with less effort and avoid heavy stroke marks on the paper.
Advantages of focusing on larger shapes in your digital coloring book
Using the large-shape technique brings benefits that go beyond aesthetics. Check out some reasons to adopt this habit for your coloring pages:
- Intensity Control: You define how vibrant the drawing will be right from the start.
- Time Saving: Rapidly filling the bases gives a sense of immediate progress.
- Color Harmony: It’s easier to pick contrasting colors for details when the background is already set.
- Clean Work: Prevents smudges caused by your hand touching detailed areas that are already painted.
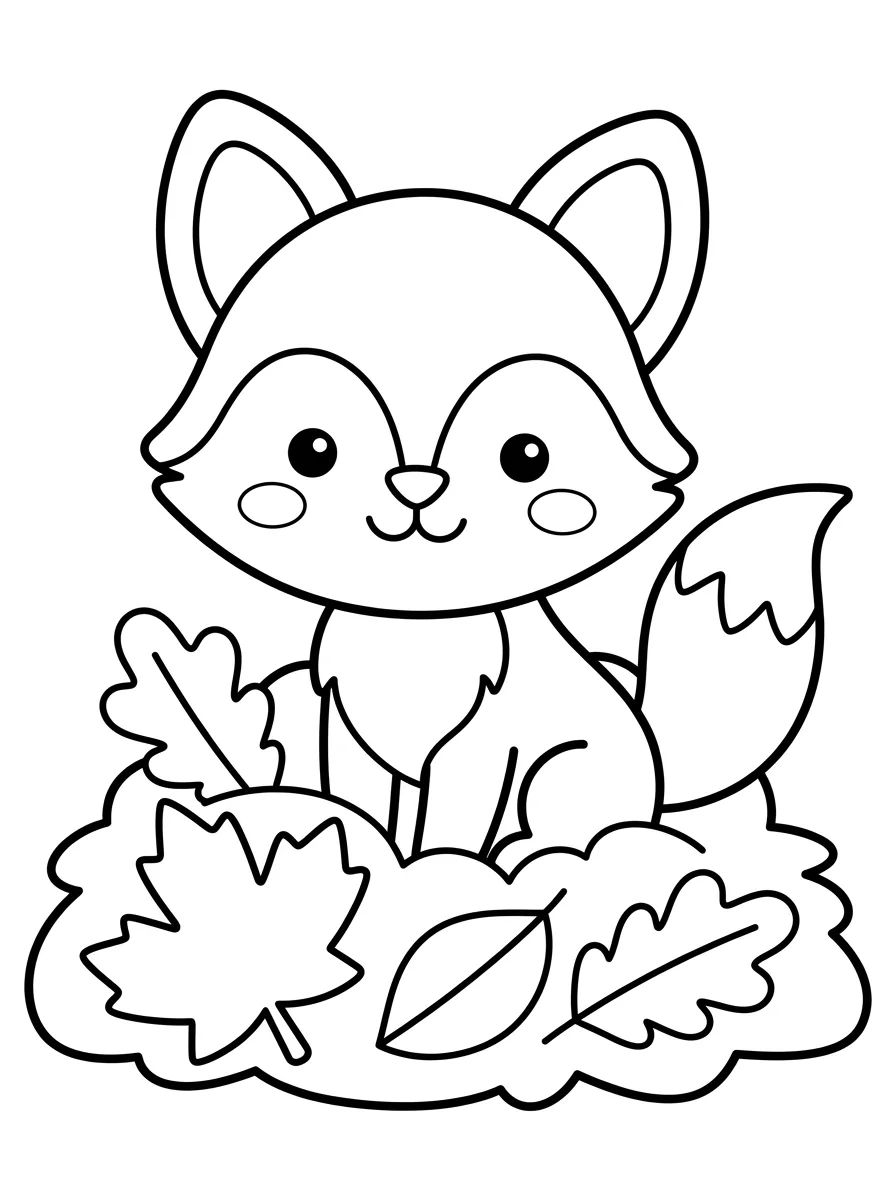
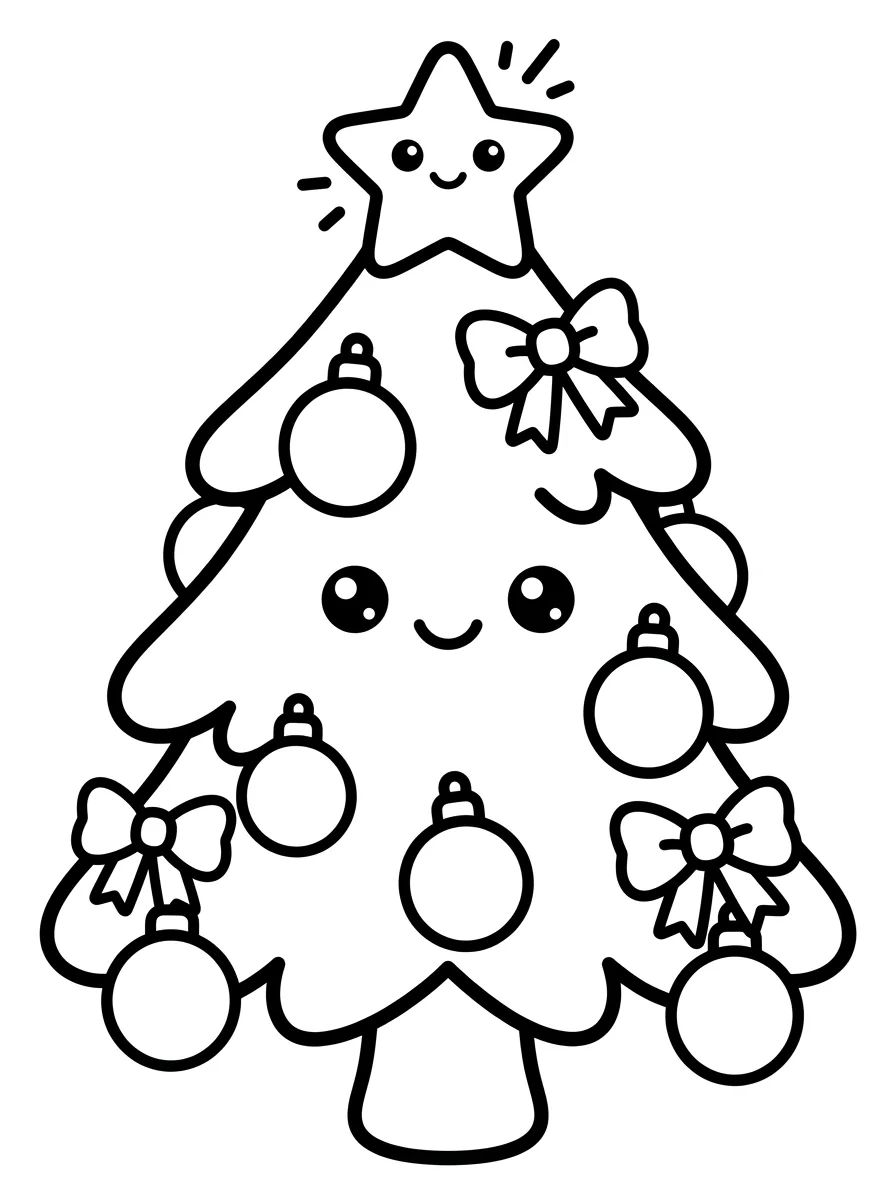
If you are looking for cute drawings to pass the time this August, try applying this rule. Start with the animal's fur or the tree canopy before deciding on the color of the ribbons or the fruit. You'll notice the final result looks much more professional and organized.
How to apply the technique with different painting materials
Depending on the materials you chose after searching for free printables on our site, the large-shape technique adapts in different ways. If you're using paints, like watercolor or gouache, large areas need more water and pigment, and must dry before details are layered on top.
In the case of colored pencils, filling the larger parts allows for layering. You can apply a light base color to the entire main shape and then come back with darker tones to create shadows, all before touching the details that will provide the finishing touch to your kids' coloring.
For those who prefer online coloring, this logic also applies. Selecting the paint bucket for high-contrast areas first helps you visualize the balance of light and shadow before applying textures or glows to smaller elements.
Step-by-step for a perfect fill
To get the best out of your coloring sheets, follow this simple guide:
- Pick your favorite drawing at Desenhando e Colorindo and print it out.
- Identify the 3 largest areas of the drawing (e.g., background, character body, main object).
- Paint these areas with light, solid colors.
- Reinforce the edges of these areas so you don't bleed into the detail spaces.
- Only then, start working on the small elements.
The importance of a foundation for developing kids' creativity
Teaching children to identify the "big parts" of a kids' line art stimulates spatial perception and planning skills. Instead of getting lost in a single point of the drawing, they learn to look at the whole picture. This is fundamental in pedagogical coloring activities, where the focus is on motor coordination and understanding geometric shapes.
During this August period, with school activities in full swing, using our educational drawings to practice this technique helps relax the mind after studying. It’s a form of active meditation, where the brain organizes itself while the hands fill in the empty spaces of the coloring pages.
Exploring AI-generated drawings and wide areas
One of the new features at Desenhando e Colorindo is our AI-generated drawings. These images often have impressive detail, which can be intimidating at first glance. The golden rule here is: ignore the details for the first 10 minutes.
Concentrate on giving color to the main structures. If it's a castle, paint the walls and towers first. If it's a space landscape, focus on the vastness of the universe in the background. By doing this, the AI-generated details will pop, making it easier to decide which color to use so they stand out against the base you've already created.
Tips for maintaining uniformity in large areas
Many people give up on coloring large shapes for fear of leaving "back and forth" pencil marks. To avoid this in your printable art, try to keep constant pressure. Don't press the pencil too hard at the start; it's better to build color through several thin layers than to try to fix everything in one heavy pass.
Another tip is to follow the direction of the shape. If you're coloring a long tree trunk, use vertical strokes. If you're coloring a rounded cloud, use circular motions. This gives a natural texture to your coloring page, making the filling of large shapes an integral part of the art, not just some random background.
Frequently Asked Questions
1. Can I start with the details if I prefer?
You can, but starting with the larger shapes helps prevent smudging and ensures your line art color palette is more harmonious and balanced from the get-go.
2. What is the best material for filling large areas?
Soft colored pencils and crayons are excellent for large areas in free printable coloring pages. For quick fills, thick-tipped markers also work well.
3. How do I prevent my hand from smudging the finished parts?
In addition to starting with large shapes, try coloring from top to bottom and left to right (if you're right-handed). This prevents your hand from sliding over what has already been colored.
4. Where can I find drawings with large areas to practice?
On the Desenhando e Colorindo website, we have a special category for cute drawings and simple shapes, ideal for those who want to train this large-surface filling technique.
Conclusion
Mastering the art of coloring by starting with larger shapes will transform how you approach your free printable coloring pages. This simple technique brings more organization, beauty, and relaxation to your art time. Now that you know the secrets to a perfect fill, how about putting it into practice? Browse our galleries, pick your favorite coloring sheets, and start creating incredible masterpieces right now with Desenhando e Colorindo. Let your imagination run wild and have fun!
Escrito e revisado por Armando Amaro
Fundador do Desenhando e Colorindo. Todo artigo passa por curadoria e revisão humana antes de ser publicado.