Mastering Line Art: Tips for Markers and Felt-Tip Pens
09 de outubro de 2026
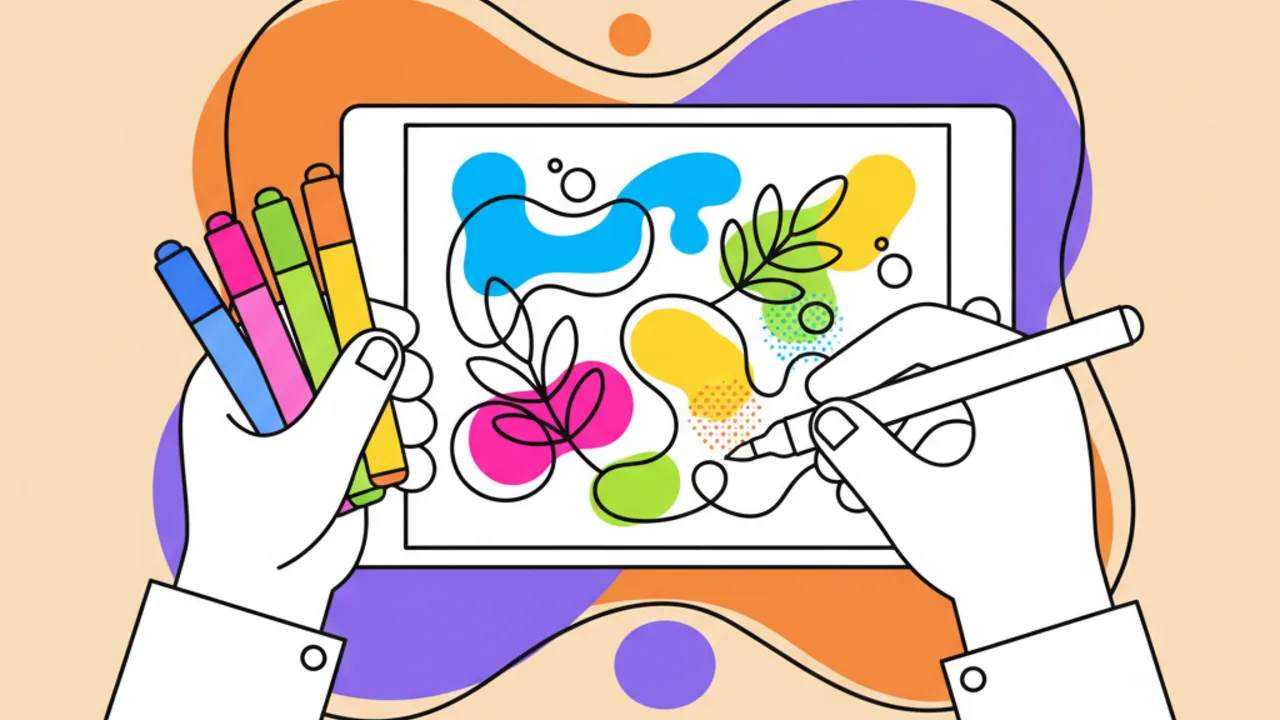
Level up your coloring game! Discover professional techniques for coloring line art with markers and pens. Perfect for our free printable coloring pages. 🎨
Choosing the Perfect Paper for Markers and Pens
Before you dive into coloring techniques, it's vital to understand that your surface makes all the difference. For those using our free printable coloring pages, the paper choice directly impacts the final result, especially when using alcohol-based markers or school felt-tips.
Markers tend to bleed through thin paper, like standard 20lb (75g) printer paper. To achieve a professional finish on your kids' line art or more complex designs, we recommend using 80lb (120g) cardstock or specific marker paper (layout paper). This prevents ink from soaking through and staining your desk or the next pages of your digital coloring book.
Besides weight, texture is key. Very porous papers absorb ink too fast, making it hard to create smooth gradients. On the other hand, smooth or satin-finish papers keep the ink wet longer, allowing for easier blending and ensuring your free drawings from Desenhando e Colorindo look vibrant and even.
Pro tip: Always place a "blotter" sheet or a plastic mat under your coloring page before using markers to protect your workspace from unwanted stains.
Uniform Filling Techniques to Avoid Streak Marks
One of the biggest hurdles when using markers in coloring activities is avoiding those overlapping lines that make a drawing look "streaky." The secret to a solid fill is working in small, constant circular motions, keeping a "wet edge" at all times.
When coloring large areas of printable coloring pages, try not to stop halfway through. If the ink dries, the next layer will create a visible mark. Work in small sections, ensuring the application is fluid and continuous, which results in a smooth finish that highlights every detail of the line art.
Another effective method is layering. Start with the lightest color in your palette and build intensity gradually. This not only prevents blotches but also gives you more control over color saturation—perfect for coloring for kids who are still developing fine motor skills.
Mastering Pen Pressure
The pressure you apply to the paper determines how much ink is released. For delicate details in cute drawings, use a light touch. For areas that need deep saturation, apply firm pressure, but be careful not to oversaturate the paper fibers, which can cause tearing or pilling.
Creating Gradients and Smooth Transitions
Using markers allows you to create incredible depth. To make a perfect gradient on your educational drawings, you'll need at least two or three shades of the same color. Start by applying the lightest color over the entire area as a base.
While the paper is still damp, apply the mid-tone to the shadowed areas. Then, go back with the lightest color to "melt" the edges where the two tones meet. This blending process is what turns a simple coloring page into a true piece of art with volume and realism.
For those who enjoy online coloring but prefer the tactile experience, brush tip markers (brush pens) are your best friends. They allow for much more organic transitions than hard-tip markers, making them perfect for painting flower petals, animal fur, or character outfits.
- Use a "blender" (colorless marker) to soften the edges of colors into the white of the paper.
- Work from light to dark to prevent dark ink from staining your light marker tips.
- Try mixing complementary colors to create more natural, less saturated shadows.
Light and Shadow: Bringing Your Art to Life
Understanding your light source is the secret to leveling up your printable art. Imagine where the sun or a lamp is in relation to your character. The parts closest to that source should have lighter colors or even be left white.
Shadows should be applied to the opposite sides. Use gray tones or darker versions of the main color to define these areas. In AI-generated drawings, which often have highly detailed lines, shading helps define geometric shapes and anatomy, resulting in a professional look.
Don't be afraid of high contrast. Beginners in printable coloring often worry about making shadows too dark, but it's the contrast between highlights and deep shadows that creates the 3D effect we admire in professional illustrations.
Mixed Media: Combining Markers and Colored Pencils
An advanced technique used by many artists is mixed media. You can use markers to create a solid, vibrant base color and, once the ink is completely dry, use colored pencils on top to add fine textures, fur details, or bright highlights.
Colored pencil adheres beautifully to the marker surface, allowing for subtle corrections and color transitions that would be impossible with markers alone. This is a great way to get the most out of the coloring activities available on our site, allowing for constant experimentation.
For final touches, like a glint in an animal's eye or the shine on armor, use a white gel pen or white gouache. These details on top of the marker add a finishing touch that makes the drawing "pop" off the page, delighting both kids and adults.
Tips for Organizing Your Art Supplies
Keeping your markers and pens organized is essential for keeping the creativity flowing. We recommend storing dual-tip markers horizontally. This ensures the ink stays evenly distributed between both tips, preventing one end from drying out prematurely.
Creating a swatch sheet is another indispensable practice. Often, the color of the pen cap doesn't exactly match the shade it leaves on paper. By printing a test grid alongside your free drawings, you'll know exactly which color to pick without any surprises during your session.
- Categorize your markers by color families (blues, greens, earth tones).
- Keep caps tightly closed to prevent alcohol evaporation.
- Clean marker tips on a scrap piece of paper if they get muddied by other colors.
- Test varnish compatibility if you decide to protect your drawing after finishing.
The Educational Value of Coloring Activities
Beyond being an artistic outlet, coloring educational drawings and kids' line art offers numerous developmental benefits. For children, it helps with motor control, patience, and recognizing colors and shapes. For adults, it acts as a relaxing therapy, reducing daily stress.
At Desenhando e Colorindo, we encourage parents and teachers to join in. By using different painting techniques, children learn to plan their work, persist through detailed tasks, and feel pride in the final result. It's a simple but powerful way to boost focus in an increasingly digital world.
This season, take advantage of the nice weather to print nature and flower designs, practicing the gradient techniques mentioned above. Natural light is perfect for observing real shadows and trying to replicate them on paper.
Frequently Asked Questions
How do I stop markers from bleeding through the paper?
The best way is to use high-weight paper, above 120g/m² (approx. 80lb). If using standard copy paper, place a protective sheet underneath to soak up excess ink and protect your surfaces.
Can I use alcohol markers with school markers?
Yes, you can combine them, but remember they behave differently. Alcohol markers blend better together, while water-based school markers can damage paper fibers if you layer them too much in one spot.
What is the best pen for outlining printable coloring pages?
We recommend waterproof (pigmented) fineliners. That way, if you decide to paint with markers or watercolors on top, the black outline won't smudge or bleed.
How can I make my markers last longer?
Always snap the cap shut tightly after use and avoid leaving markers in direct sunlight or extreme heat. Storing them horizontally also helps keep the tips hydrated longer.
Now that you know the best painting techniques for markers and pens, it's time to get started! Browse our website, Desenhando e Colorindo, pick your favorite themes from our vast collection of free printable coloring pages, and start creating your masterpieces today. Let your imagination run wild and have fun transforming every page into something unique!
Escrito e revisado por Armando Amaro
Fundador do Desenhando e Colorindo. Todo artigo passa por curadoria e revisão humana antes de ser publicado.